How to install TrueNAS SCALE correctly
Preparation steps for installing TrueNAS Scale
Set the boot mode of your mainboard to UEFI.
- Create a bootable usb-stick with the current version of TrueNAS Scale.
Tools to create bootable usb-sticks:
https://etcher.balena.io/
https://rufus.ie/de/ - You can find the current version of TrueNAS Scale under the following link:
https://www.truenas.com/download-truenas-scale/
Starting installation
Boot into the TrueNAS Scale usb-stick you created.
- By pressing F11 during BIOS bootup you can enter the Boot menu of your mainboard. (please refer to your motherboard manual of your mainboard for specific keybinds). After selecting the TrueNAS Scale usb-stick the installation will start automatically.
- Now the console setup screen will appear. Choose Install/Upgrade by pressing ENTER to continue.
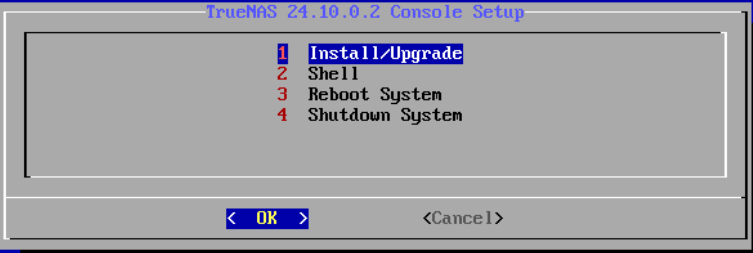
Choose the drive on which TrueNAS Scale should be installed. You can select the disk by pressing SPACE. Select 2 disks if you would like a mirrored boot drive. Confirm your choice by pressing ENTER.
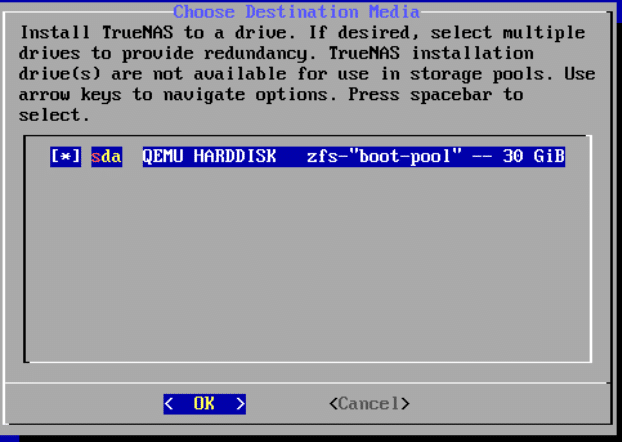
On the Hint page press ENTER again to confirm your choices again. Upon doing so all data on your selected boot drives will be erased.
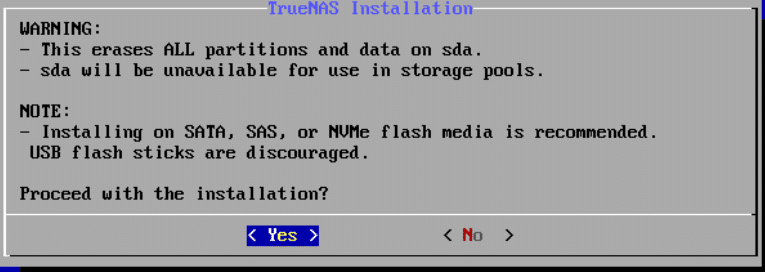
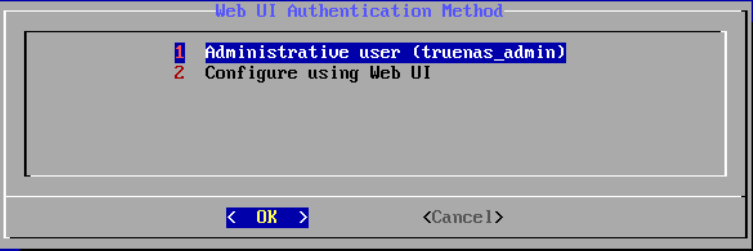
You can now choose to configure the administrator password (formerly root, now truenas_admin). Select option 1 and hit ENTER to confirm.
As described on screen you now set your administrator password. After entering it twice hit ENTER to proceed.

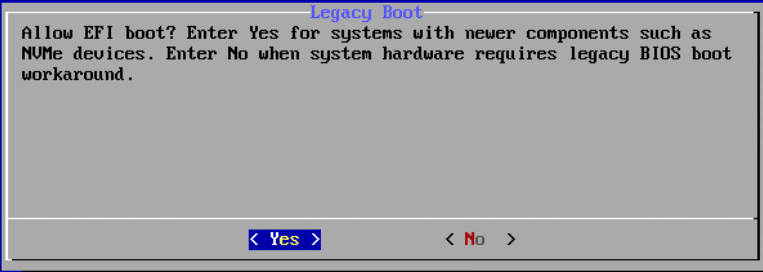
By hitting ENTER again you can choose to boot in EFI mode. However if your system configuration required Legacy boot mode select No with the arrow keys and confirm with ENTER.
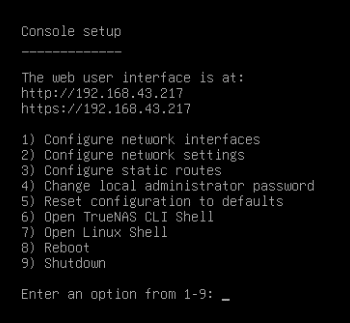
After rebooting make sure to plug in a ethernet cable so the TrueNAS can get an IP-address. You can find the IP-address under: "The Web user interface is at"
You can now log into your TrueNAS Server by typing the IP-address into a browser of a client in the same network as the TrueNAS. The Username is truenas_admin and the password you set for the admin user in step 6.
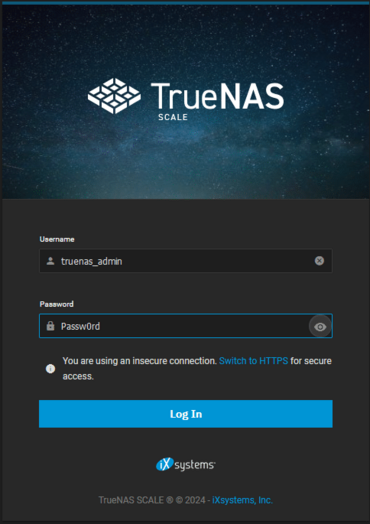
TrueNAS GUI
You can now log into your TrueNAS Server by typing the IP-address into a browser of a client in the same network as the TrueNAS. The Username is truenas_admin and the password you set for the admin user above.
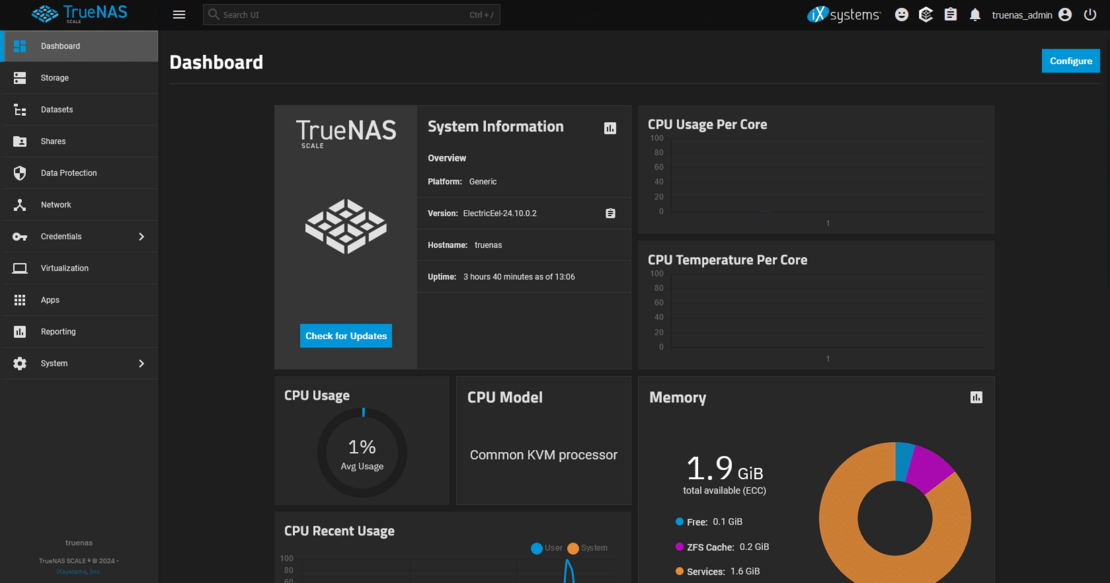
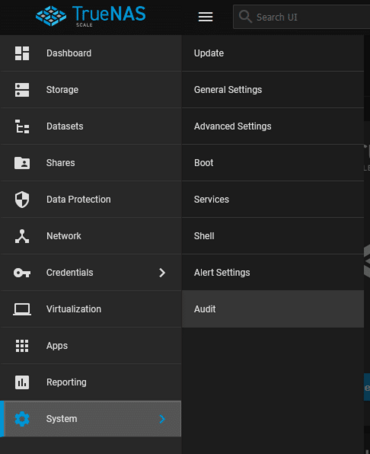
Upon logging in click on System in the dashboard on the left. Here select General Settings to change the menus language, keyboard layout, date and time.
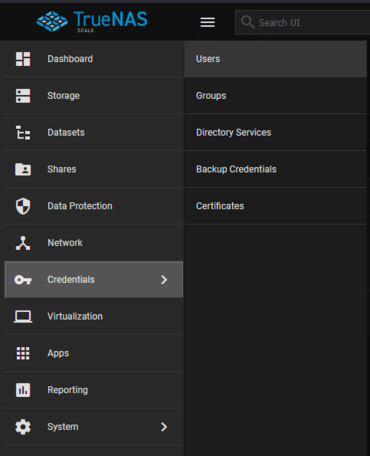
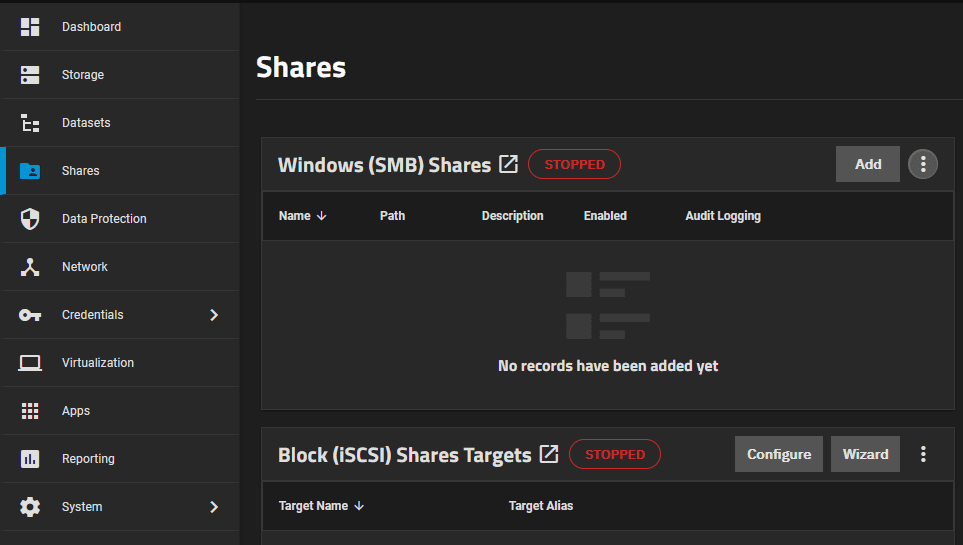
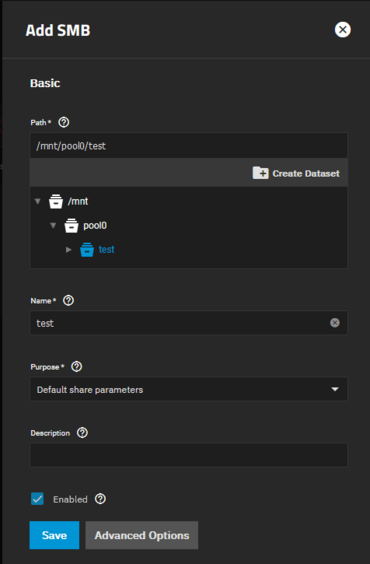
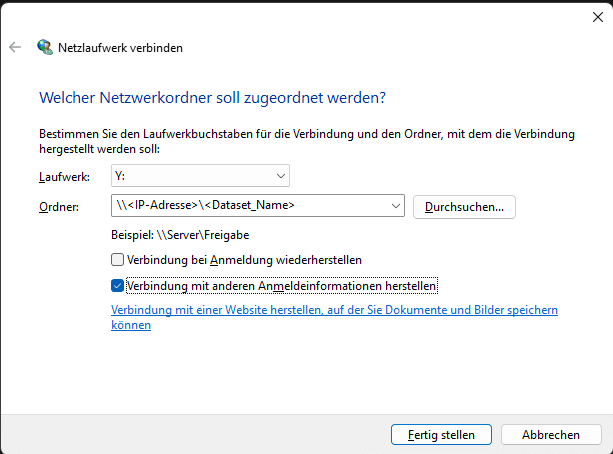
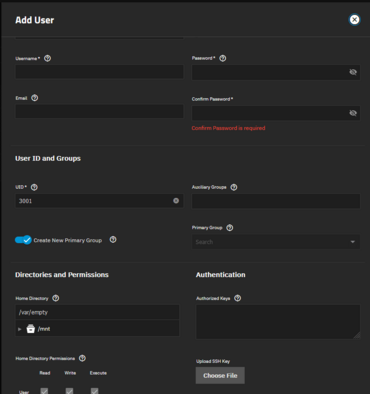
Assign a name and password; this will be required later for the network share (SMB). The Create New Primary Group box remains ticked. TrueNAS automatically creates a group with the name of the user.
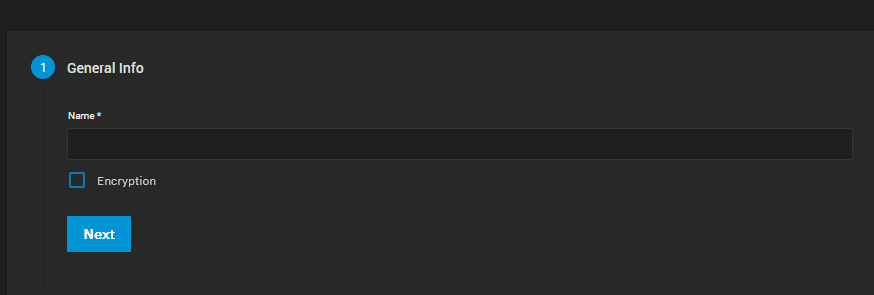
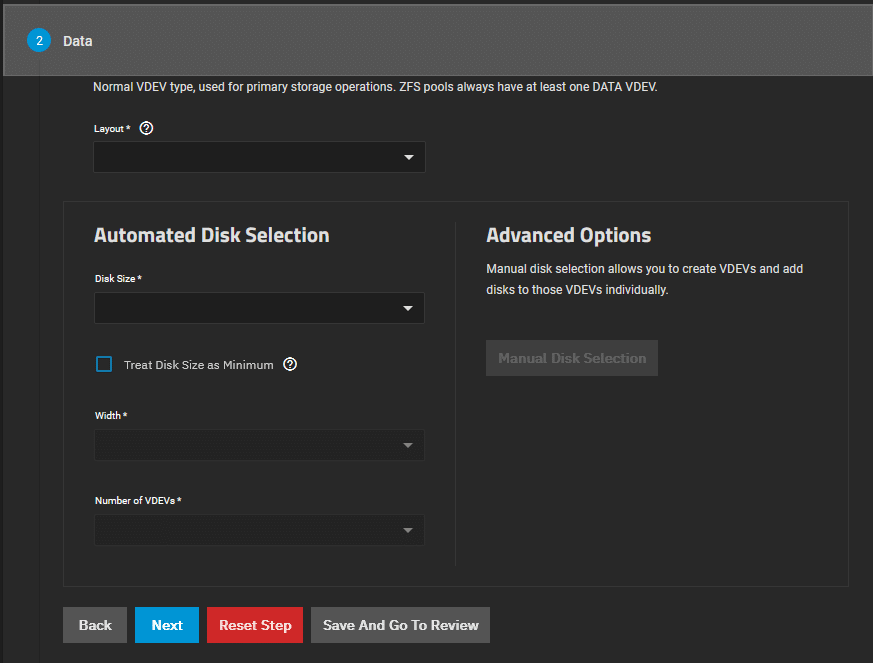
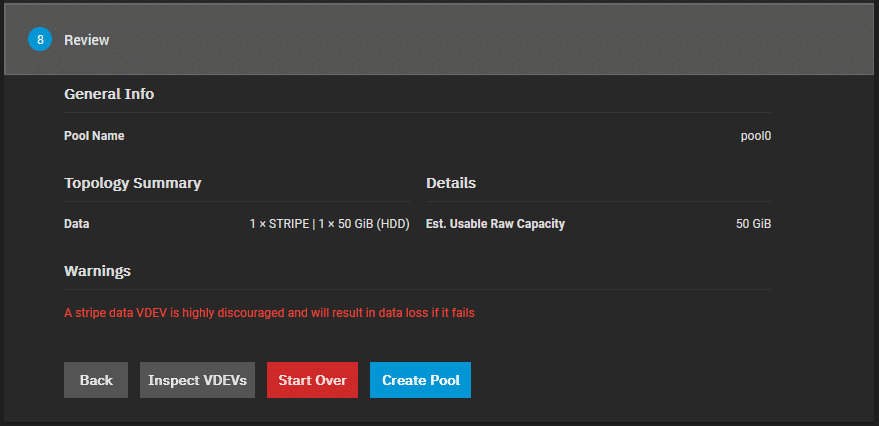
You can set a log drive, cache drive, metadate drive or deduplicatin drives for a more advanced configuration. Please refer to this article for more information. After configuring the pool you can check your settings under step 8 and confirm it by pressing Create Pool.
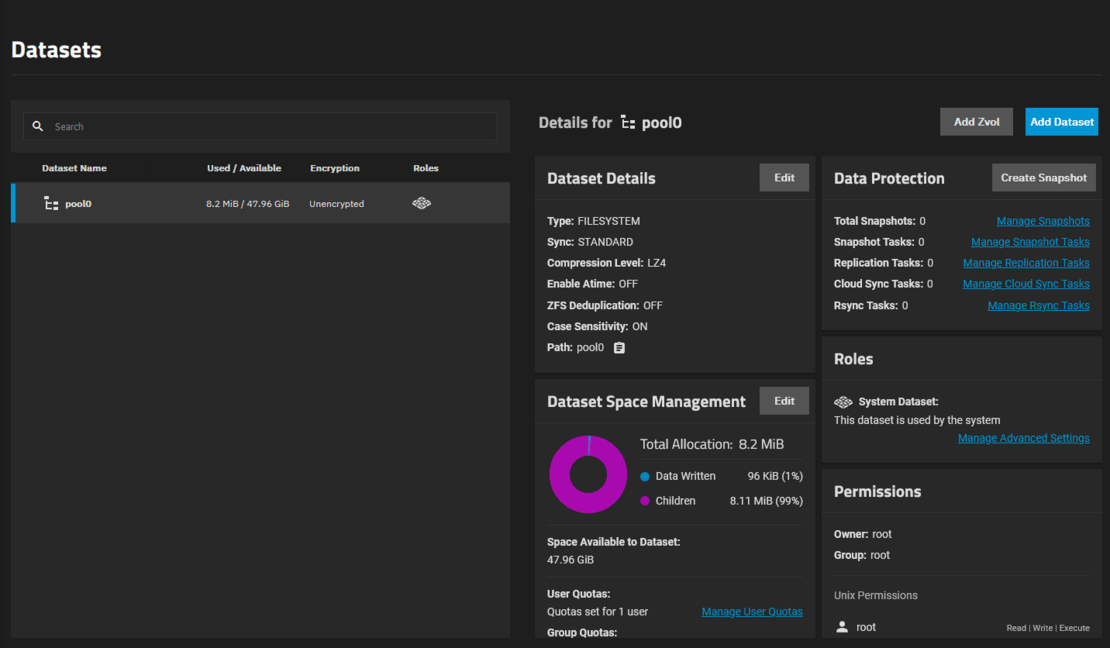
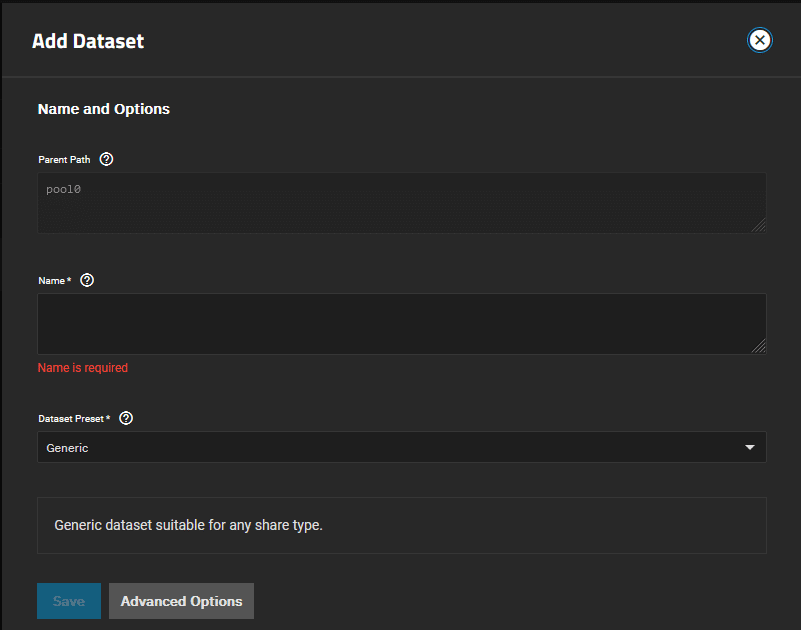
Give the dataset a name and assign it to a pool if not assigned automatically.
In the ACL Editor the user test which was created beforehand must be given read/write permissions to read and edit/change the data on the dataset.

Configure network interfaces
Additionally under Network you can edit the network interfaces according to your network.
Attention: After the initial/first change of a network interface from DHCP to static, check that the network interface for the GUI uses DHCP or set the current IP as static.
You can test the changes and make sure the GUI is still reachable. The changes will be reversed if no confirmation is being done within 60 seconds.


