How to mount iSCSI storage under Proxmox
Step-by-step guide

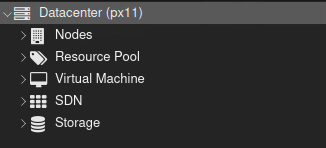
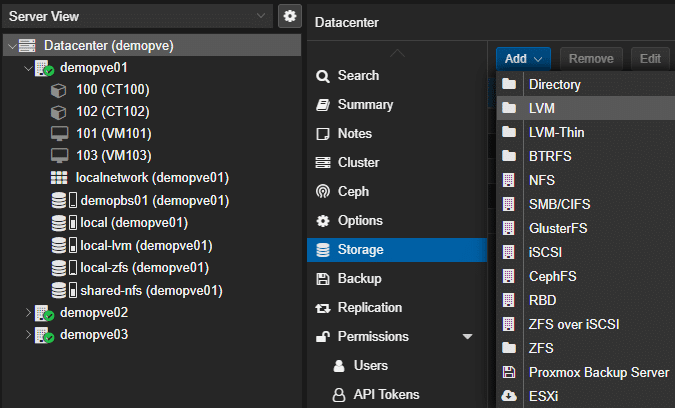
- Click on " Datacenter" in the left-hand menu and then on "Storage"
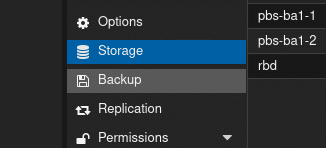
2. add storage
- Click on the "Add" button and select "iSCSI" from the drop-down menu.
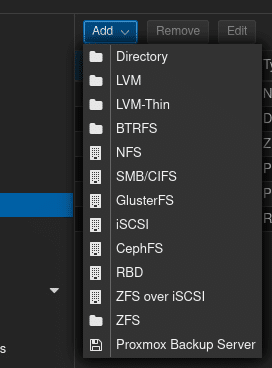
3. iSCSI configuration
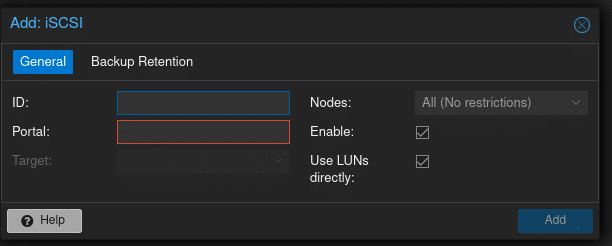
- A window for configuring the iSCSI storage opens. Enter the following information:
- ID: Enter a unique name for the iSCSI storage.
- Portal: Enter the IP address of the iSCSI portal.
4. additional settings
- Select the nodes on which the iSCSI storage is to be integrated. "All (No restrictions)" is selected by default.
- Activate the options "Enable" and "Use LUNs directly" if required.
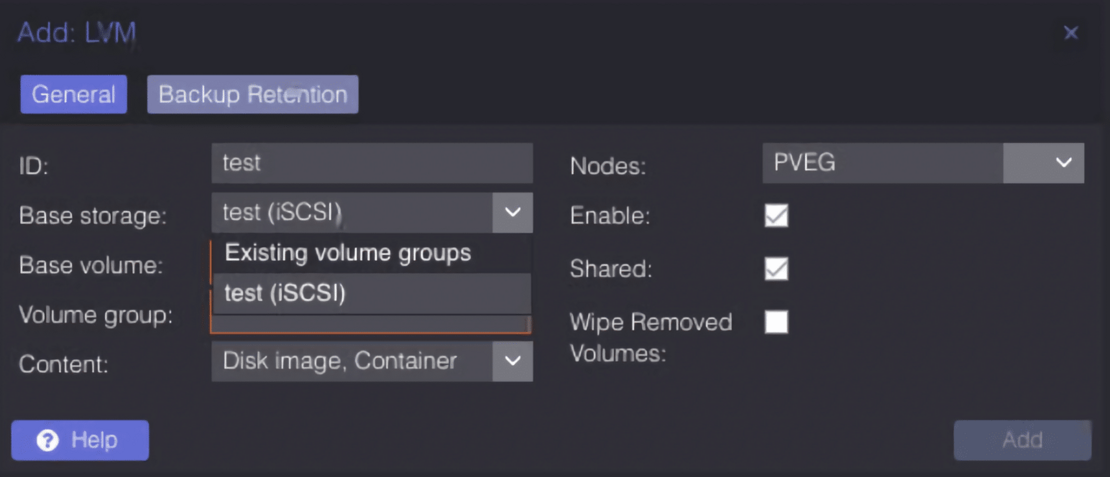
- Select the iSCSI target and make sure that the "Distributed" checkbox is ticked.
6. check
- After adding, you should be able to see and access the new iSCSI storage in the storage area.
- Make sure that the storage is still correctly integrated after restarting the nodes.
